The Lonely Mountain

The Lonely Mountain
Showing posts with label Steph Flynn. Show all posts

Monday, 21 April 2014

Ink Reveal: Progression

Just a wee progression of the ink reveal using the diffuse ink layer and the sunlight layer.
After my last tests, Tom suggested I have the ink look more watery/blurry as it appeared and to add a sort of ink wave to enhance the unveiling of the drawn map elements.


Sunlight layer - no ink

Ink reveal using matte

Added effects to create more watery-ink reveal
With ink wave

Thursday, 17 April 2014

The Rendering: As it should have looked (first time).

So after mucking up with the renders first time, they were finally done (with a lot of help/fixing from Kieran).

Just a few steps in the process.


Some of the layers (after being re-rendered).
AO


Depth


Eagle AO

                                                                        Eagle Translucence
                                                 

ID Pass

Subsurface Scatter

River Diffuse

Indirect

Sunlight


Monday, 7 April 2014

Ink Reveal: Rendered Tests


So, After I managed to have a rendering malfunction on the scene and it had to be sent of for a re-render, I used some of the existing layers to try out the inky/water colour reveal on the (what should have been) final renders of the shot.


After making a couple of mattes for the reveal, I tested the scattered-reveal first.


This was a more of a sweeping-reveal and was the preferred version for the director.

Wednesday, 2 April 2014

Watercolour Reveal Tests


Here are a couple tests of the watercolour reveal in 3D.

The first one is the entire image sort of appearing from blackness. I don't think this is what was intended but I kind of liked it. It was also mentioned that there would be seconds of blackness in the beginning anyway, so maybe this could help fit the reveal in...just a thought really. This one is a little fast, but the speed can easily be changed.


The second is more like what I feel was expected from the reveal. The paper/ground would be present and then the text, lines and drawings of the map would appear in the watercolour style...(the idea is that the 3D will pop up into the scene so ignore that these elements are revealed in this too).


I could combine the both of these tests so that the paper could reveal and then afterwards the ink drawings and text on top, if this is preferred. Again, this is the first test using the same matte to reveal the elements, so there's plenty room for me to test this out a little further and do a bit of tweaking. (:

Thursday, 27 March 2014

Mountain IBLs

Using IBLs to look at lighting for the mountain.
Some of the earlier ones (not colour corrected). This is
Still without the textures etc.


But I looked again at some of these as the light should be coming from behind the mountain...


Obviously a little colour-correction and messing around in comp will be necessary.


Monday, 24 March 2014

A few more mountain textures


                                                    Does whatever a Tiger Mountain does...


                                                            First test - horizontal lines.


                                                 Second test - vertical lines. There are more
                                                 lines in this test. I'm unsure if this is too much
                                                 or not.


I may try another vertical line test, more in the style of the first test with less lines. I also feel that perhaps more tests involving simpler and straighter lines may provide a bit more variety. If it calls for it, this is something I will look into further.

Thursday, 13 March 2014

The forgotten tests


So I meant to throw this up here a while back. Long ago, around the time of the first age, before the 3D fires were alive and burning, I began a rough 2D fire comp test...it turns out it's supposed to be played super fast - LIKE LIGHTNING...but fire instead, so it's not really what we need anyway. Also, there's a few strange artifacts going on that need tweaking obviously. I was also going to look in to having the paper blackening before the fire as well, but I see no reason for it now; thankfully the 3D fire looks like the way forward!


So there super slight differences in the timing here. When it's too slow it doesn't look right, it's supposed to be a fast wipe sort of deal.


This one's slightly slower but it's not hugely obvious.


So here's a few stills to help you get the idea.


Tuesday, 4 March 2014

A Hasty Lighting Test for the Town


I quickly threw some image-based lights on John's lovely buildings...the HDR imagess I found were mostly lighty- daytime ones, perhaps too bright for what we need?


Obviously the positioning of the buildings are not correct, I literally threw it all together to see how it would look.


And here's how they look without the Background images...


It's pretty rough. It will require a bit more time obviously. I'll maybe look into changing up the colour of the lighting and messing around with some things to make the light a bit more atmospheric.


Monday, 17 February 2014

Forever Texturing

Ok so, I've been meaning to post this up for a while. Rebecca and I have been messing around with projection in mudbox and maya.


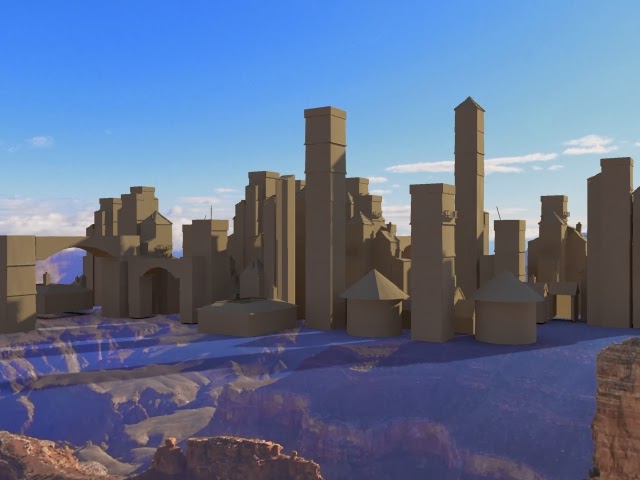
This first piece is more of a  concept. The texture was projected on in maya (if I remember correctly). But there was so little control over where the texture sat. There's just a backdrop and light thrown in there too, to help create more depth.


UV map


                                                     Texture created in Mudbox & PS


Elements put together in Maya

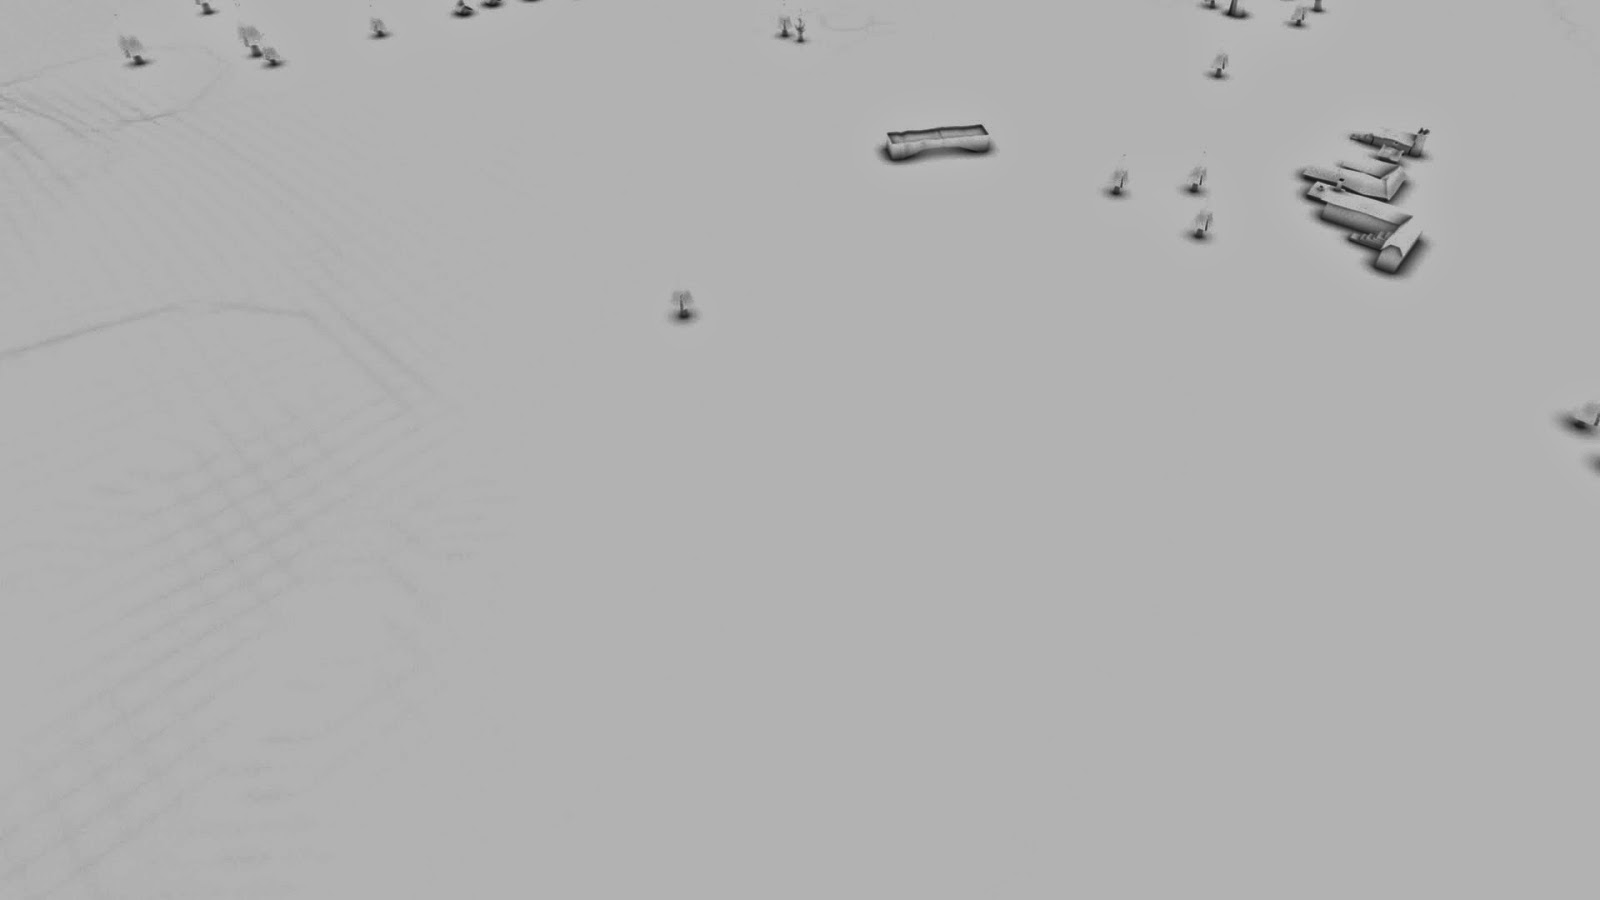
This is just like the test Rebecca previously posted, checking the projected texture against the map (obviously it's not in the right place, but you get the point).

The method that seemed to be easiest was to apply the paper colour/texture of the map as an actual shader and then to project the lines on top, placing them where we wanted them and just updating the changes from the projected stencils in mudbox to the existing shader. Once the lines were on the 3D model, they seemed to be less sketch-like. I think we'll need to tweak the stencil a bit. It's not perfect, but it is getting there.