The Lonely Mountain

The Lonely Mountain
Showing posts with label Modeling. Show all posts

Friday, 21 March 2014

Tree-Hand - extra modeling

As the Tree-Hand model looked a bit more like a hand than a tree, some extra modeling was required.
For a very quick test I made copies of the branches/fingers and attached them behind the main model. This showed me that they needed to be smaller and more subtle:


Decided that smaller and thinner branches would look better:

The tree-hand starts twisted around and is first seen from the side in the film. This also helps to disguise the 'hand-like' shape:

Showed Kieran the updated model and it was discussed that more branches could be added to the back of the hand and knuckles. When the hand is curled over to begin with, these extra branches will be stood up and also helping to disguise the hand as a tree. I modeled them at an angle as they will be moving with the hand, so when it curls over they will follow. If they still are not at the correct angle when the hand is curled, some extra joints will be added into these smaller branches to move them:


- Lilly

Monday, 17 March 2014

Sunday, 16 March 2014

Mountain development

After working out the texturing pipeline I started modelling mountains. At first distant mountains and the when we decide against having any the looney mountain its self. I looked at real mountain reference swell as folded paper. Here is pictures of some of that development! The techniques ranged from 3D in photoshop using black and white maps to different techniques within maya.

So I spent weeks and weeks developing my lonely mountain with a lot of failed attempts and here is some development of that.

Screen Shot 2014-04-24 at 13.12.03

Firstly I tried to create the mountains using 3D in photoshop. You do this by using a file with a transparent background the using the 3D tab, filter,render Difference clouds.

Screen Shot 2014-02-18 at 13.14.30

Then using 3D, new mesh from grayscale you get above ^^ in the 3D workspace. You can edit the shapes by changing the grayscale image the proportions of black and white change the shape. the whiter the mark the higher the point.

1797243_10152829180210639_1190813962_n

When you bring the displacement map into Maya and put it onto a plane it looks like this ( can only see in the render initially ) Have to make sure it's mental ray. Then when your happy with the render you can convert the displacement map to polygons.


1947452_10151963049751305_1935828251_n

If you edit the blacks and whites of the displacement map you get different shapes. I decided this wasn't going to work for our mountains as they were to rounded. and not papery enough.


Screen Shot 2014-02-18 at 13.49.50
This mountain was done by simple pulling the vertices from the plane up. However this still wasn't giving us the shape we were looking for.
Screen Shot 2014-02-18 at 14.49.12
After doing some referencing using real paper folds we started getting closer to what we were looking for a nice papery look.
Screen Shot 2014-03-17 at 09.10.20

These mountains have a scrunched up paper feel
Screen Shot 2014-04-24 at 13.14.22
They were to messy though and two many un structured triangle in the mesh.
Screen Shot 2014-04-24 at 13.13.26 Screen Shot 2014-04-24 at 13.13.25
They also didn't look right when smoothed.
Screen Shot 2014-03-07 at 18.04.35 Screen Shot 2014-03-07 at 18.04.42 Screen Shot 2014-03-07 at 18.04.50

This mountain^ shows the beginnings of the final models structure. The four main folds with smaller folds in between.


Screen Shot 2014-04-24 at 13.12.58

This is the beginning of the final mountain and shows how it developed combining parts of the pervious models. Making sure to make the edges really hard and straight.


Screen Shot 2014-03-17 at 09.02.35
Texture maps

Screen Shot 2014-04-23 at 17.26.29 Screen Shot 2014-04-23 at 17.26.39 Screen Shot 2014-04-23 at 17.26.48

Some photographic pointy mountains used for reference.

Thursday, 6 March 2014

Tree-Hand Modeling

Started modeling the Tree-Hand which 'captures' the Eagle. 

Used one of the concept designs I had done previously as reference:

First version of the model - unsmoothed:

First version of the model - smoothed:

Wireframe:

Tried adding a very simple rig to test quickly if the geometry was going to do what we need the Tree-Hand to do:


Realizing that the model will be smoothed, in order to retain the sharper edges to match with the rest of the paper world, I added in more edge loops for the edges of the fingers/branches and roots. Elongated the branch/fingers slightly to add a bit more creepiness to it and this will probably allow more freedom for movement and entwining as well. Also modeled the second hand/roots which is curving in around the main tree-hand, based on the original concept design:


Discussed with others in the team about the hand looking more tree-like before it 'grabs' the Eagle. I suggested maybe adding more trees/branches behind it. These could then be entwined with the hand and then fall away to reveal the hand. Or another suggestion was to just make the finger/branches more contorted and entwined with each other before unfolding to look more hand-like. So there are a few things to try next!

- Lilly

Thursday, 20 February 2014

Updated Eagle Model

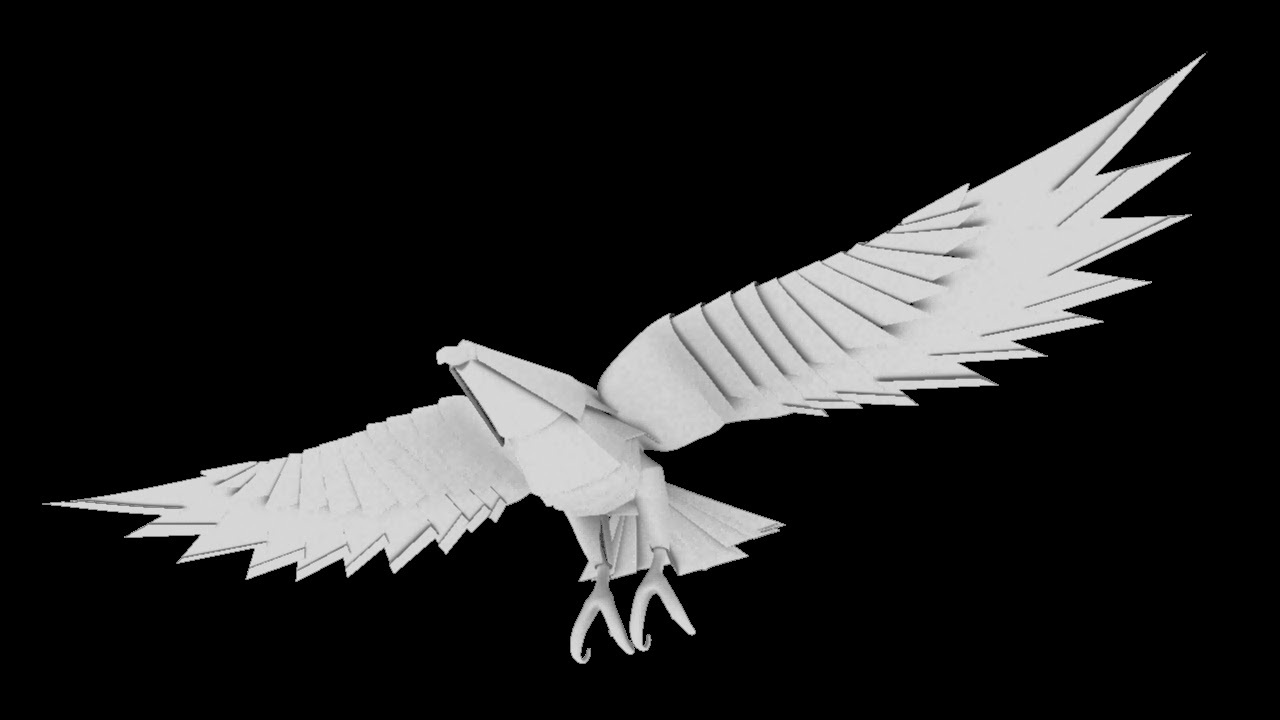
George had begun some tests on rigging the eagle and had asked ne to update the wings to add in some more feathers, straighten out the wings and slim the connection between the wings and body. In addition, I tidied up some of the geometry, enhanced the lines on the head and changed the way the sections wrap around the wings a little. I re-rendered these with a little transparency on the wings and tail, which gives it a more vulnerable papery look.


Wednesday, 19 February 2014

Map scene


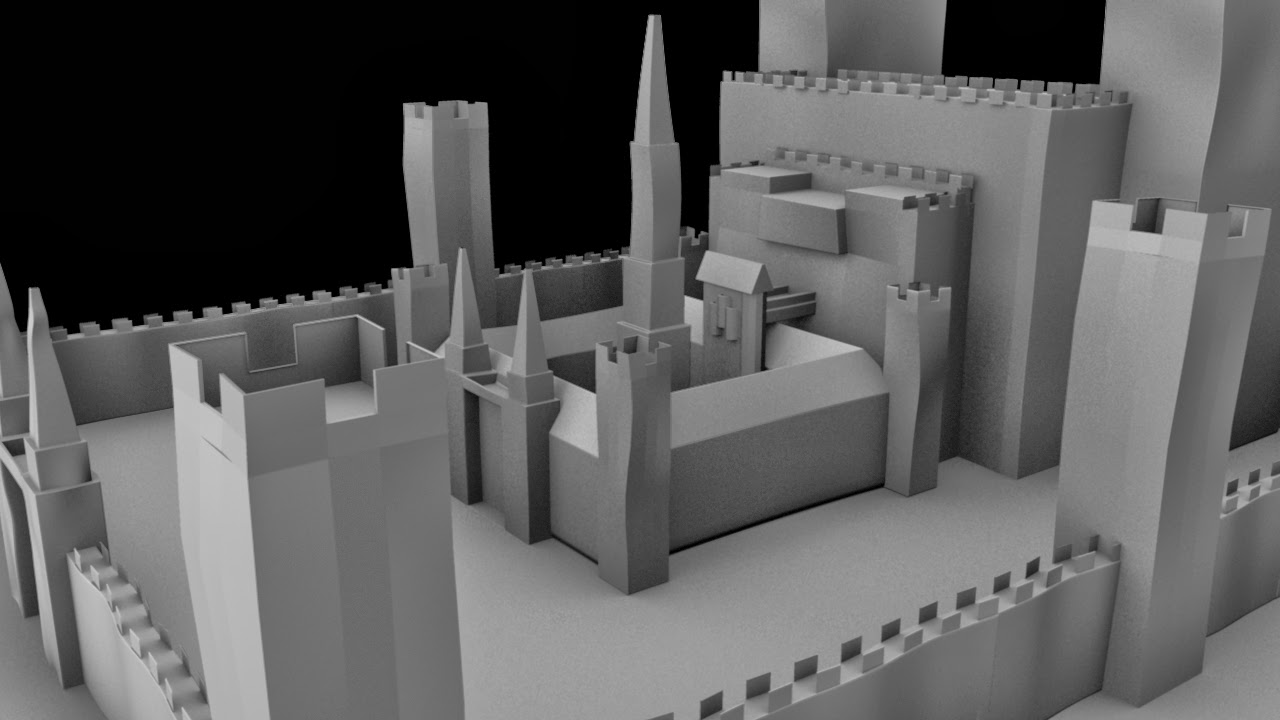
I know we have changed the idea of how a mountain will be modeled. However any thoughts on the setup?

Monday, 17 February 2014

Eagle Version 1

Here's the first version of the eagle model, so the riggers can get cracking! And, of course, if anyone wants to experiement with textures as well? The wings were a bit of an issue, in terms of the overlapping elements. So, I've slotted them in to one another to allow room to move up and down - we may have to widen them depending on how large the movements of the wings are.

These test images are just with some ambient occlusion - the file is on the shared folder. Any feedback is welcome!